iPod 6th Gen Revival
Rise from your grave
For years I have had this old iPod in my desk. I've told myself all that time that I'd restore it with an SSD one day. Once I "upgraded" to a phone without a headphone jack, the day finally arrived.
(NB: These are no more than cursory notes for my own entertainment and perhaps for a future memory jog. It's not really a guide to doing this yourself. If you found this page because you were having trouble with your own similar restoration, and find that one of my steps is poorly explained, shoot me an email. If I remember what I did I can elaborate on points.)
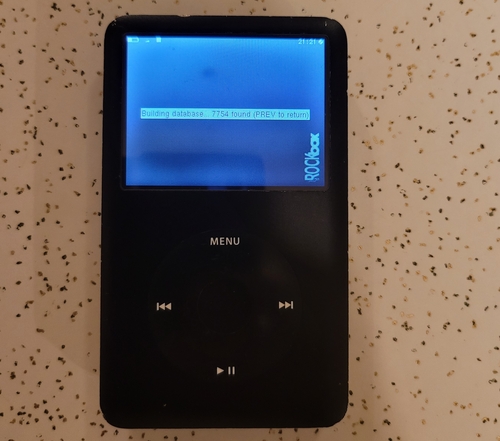
Figure 1: The starting point. There will be more scratches on this by the end of the process…
1. Specs and Strategy
This iPod Classic is the slim 80 GB 6th gen model. The battery is expanding, which is leading to the bubble on the screen that you can see in some of the images below. If I leave this too much longer, the gas in the battery will expand further and eventually shatter the screen. This repair is just in time.
The 160 GB model has a larger shell, which allows you to fit in a larger aftermarket battery. My options are to get a smaller battery, or to buy a new back shell for the iPod. I opted for the smaller battery. Because I replaced the HDD with the iflash quad, there will be room for a 2000 mWh battery. Other SSD/SD mods take up more space, and I would have needed an even smaller battery. This battery information is sort of poorly documented; the best I've found is on the iFlash website, though of course it's specifically geared towards their adapters.
I only used three of the four micro SD slots (which need to be populated in order from 1-4). That means that I can always open up the iPod again and add a new one if I need more space, but… I hope 500+ GB is enough.
It turns out that the 6th gen is probably the worst generation of iPod Classic to mod. Earlier ones are easier to open, later ones can natively support large storage capacities with the default iPod software. The 6th Gen (and specifically the 80 GB model) can't recognize internal storage >128 GB. Because of this, I must use Rockbox if I want to get anything significant out of this mod. This was already set up on my iPod from earlier tomfoolery, so I won't explain how I did that (and I followed someone else's guide anyway). Another benefit here is that Rockbox supports FLAC, so in the end it's probably the only choice for me, even if the classic "iOS" was able to recognize 600 GB of disk space.
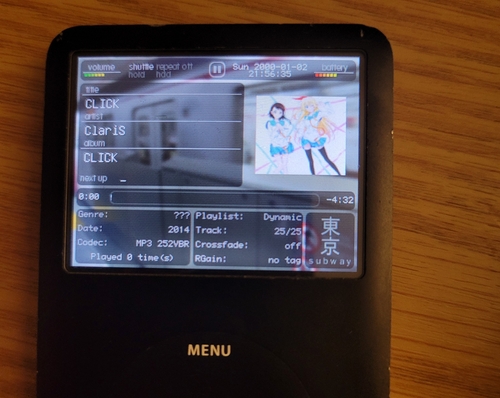
Figure 2: A pleasant enough Rockbox theme, Tokyo Subway. It's clean and shows lots of information without being cluttery.
2. The Operation: Opening the iPod
This is absolutely, without question, by miles and kilometers and versts the worst and most painful and most time consuming part of the whole process. Eventually I put on a work glove, because the pry tools were actually drawing blood.
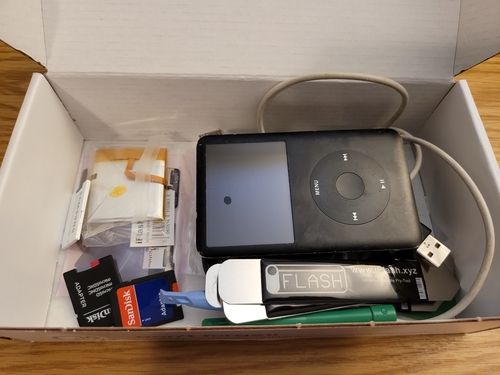
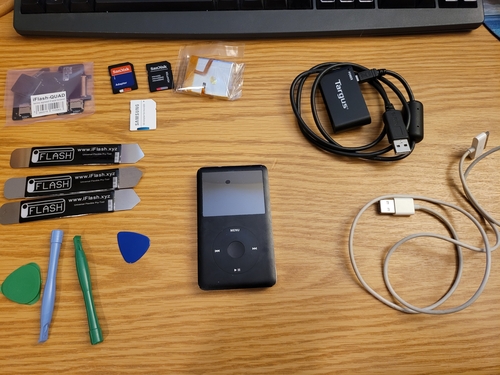
Figure 3: This turned out to be an incomplete set of tools (I added a few guitar picks and a work glove later).
The case is really not meant to be opened. Since the whole thing is metal, getting the initial pop of the internal levers and locks is the worst, and there's not much to say except that if you get a tool in, keep it there, or you might accidentally lose any progress you've made…
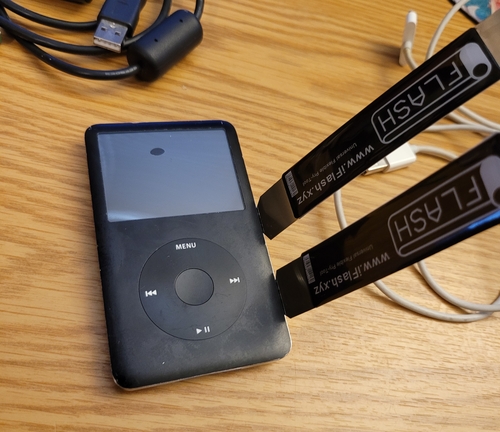
Figure 4: Very high-tech iPod opening tool, "metal stick".
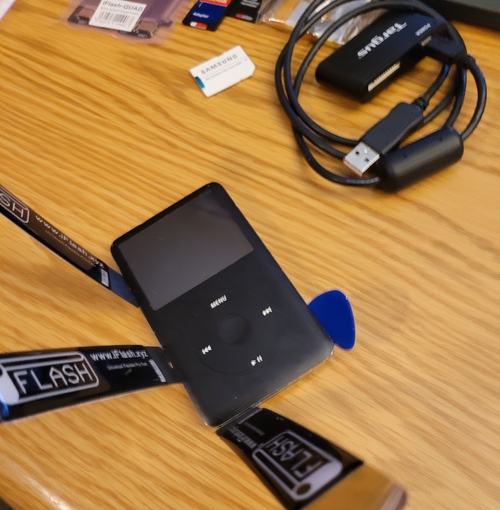
Figure 5: Since the guitar picks are thicker than the metal spudgers, I used them to hold the place of any significantly opened section of the iPod. If you can get the plectrum in, you're making progress.
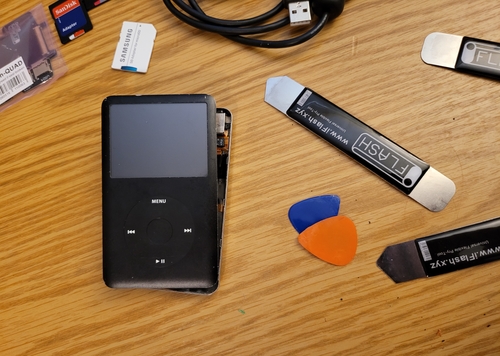
Figure 6: Don't be fooled by the three image sequence, this took more than an hour. The flakes on the desk are metal flakes and paint from the iPod.
3. It's open. Now what?
Actually, I didn't document this middle part well, because opening the damn thing was so taxing. I had to go for a small walk before I had the patience to continue.
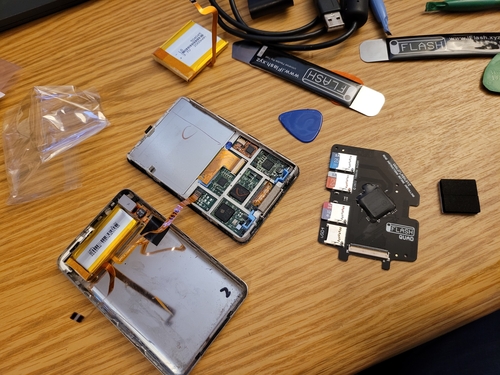
Figure 7: The inside, with the HDD already removed.
Replacing the HDD with the iFlash is very easy. Removing the old expanding battery from its glue without puncturing it or damaging any of the ribbon cables is not.
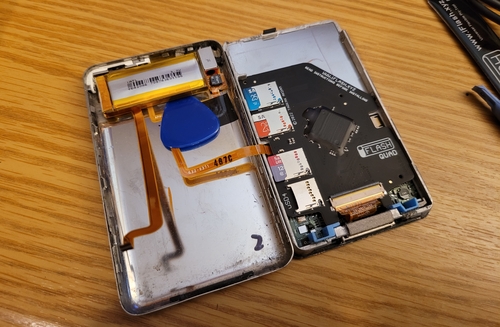
Figure 8: The iFlash Quad inserted. I'm trying to gently remove the old battery here.
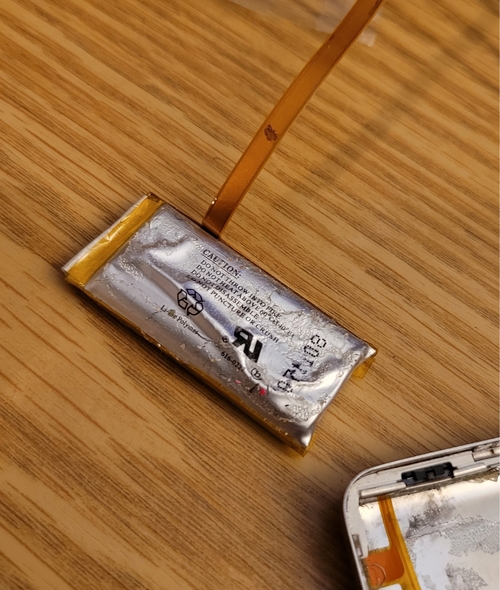
Figure 9: Gross. At least I didn't need to deliberately puncture this one.
After that I inserted the new 2000 mWh battery. It's not glued down at this point, because I want to make sure I haven't broken anything, and I need to check if the micro SD set is being detected at all.
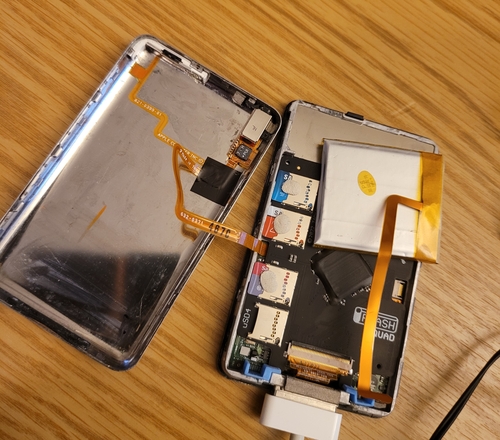
Figure 10: The new battery. It's more than twice as large as the original.
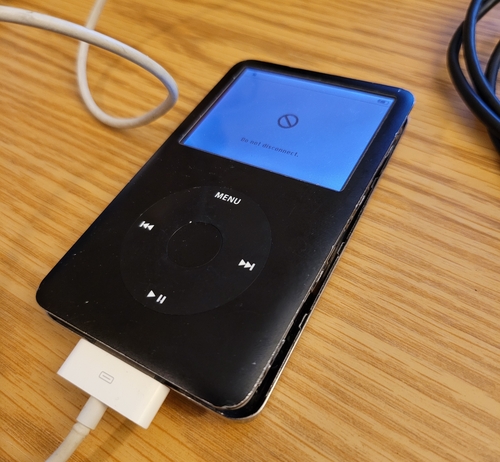
Figure 11: Looks good so far. Do NOT close the case!!!
4. Final hardware steps
Everything looks like it's working, so it's time to secure the pieces and close the shell.
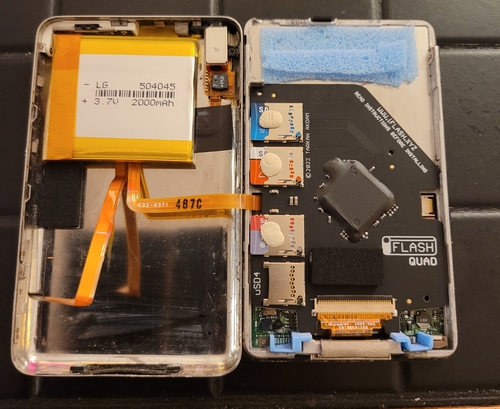
Figure 12: I used some sticky foam to pad the inside and to keep the battery from sliding around, in case its new glue fails.

Figure 13: I also ate a snack (Greek yogurt, blueberry jam, chocolate).
Then, once I was happy, I took the plunge and closed the case…
5. Quick notes on software
To summarize, you'll now have a micro SD powered super iPod, but you still need to reformat it for Rockbox to see all of your storage. If you boot into "iOS", you'll still see 128 GB of storage. You need to power on to the boot menu and reformat the drives from your computer, and probably reinstall Rockbox (depending on how things went).
I also had to restore the iPod with iTunes at one point, but I'm not sure if this is necessary or only a convenient intermediate step. It's possible that I'm writing this a few weeks later and have already begun to forget the order of the steps I took.
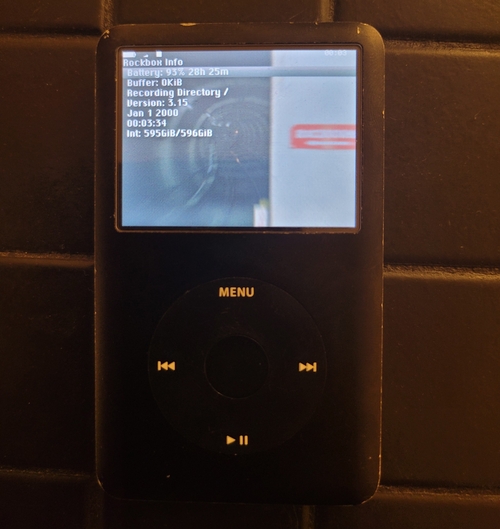
Figure 14: But you can get there. Almost 600 GB of storage on an old iPod!
There are still some issues here. Because Rockbox "dual boots", if you have the hold button on at power on, the default iPod software will boot. The iOS will detect that the iPod is formatted strangely and will REFORMAT EVERYTHING. Basically, you have to make sure that you never boot into "iOS". This is a pain, because if I connect the iPod to the charger, I probably haven't used it in the past few hours, and that typically means I have the hold switch on. It would be great if there was a way to disable this, but aside from forking Rockbox and making a change myself, I don't know the solution. Be very careful.
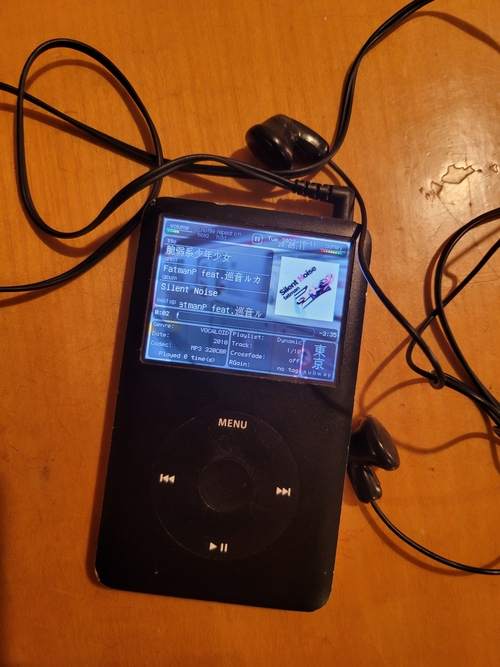
Figure 15: At any rate, this is now the lightest and most high capacity music player I own.
6. Old Notes
From before the restoration.
6.1. Modding Notes (do not do this research again!)
For replacing the failing HDD with an SSD, this is one of the few models that does not support storage beyond 128 GB… if you stick with the original firmware. Using Rockbox, this is no longer a limitation. I went with the iFlash-Quad, which I can fill up with micro SD cards as I please.
Objectives Fall 2022 :
- Install a new battery and SSD chassis in this iPod.
- Get a cheap tool to open this as carefully as possible.
- Can you fix the screen bubble? NB - The screen bubble might be an expanding battery. Replace ASAP.
6.2. Thoughts for later
If you ever do this again, grab a good condition 7th gen and one of the single micro-SD iFlash adapters. Put that into the 6th gen and the quad into the 7th.